titan-security domain was triggered too early. This is usually an indicator for some code in the plugin or theme running too early. Translations should be loaded at the init action or later. Please see Debugging in WordPress for more information. (This message was added in version 6.7.0.) in /home1/growiqk5/public_html/wp-includes/functions.php on line 6121Before you decide to throw in the towel on this powerful project opportunity, read on about the many ways that all students can have equitable access to black history wax museum project materials without you having to shop, spend your own money or spend time finding lots of costume items for your students. Or without asking families the burden of doing the same.
But first, you might be wondering, so what is a Wax Museum History Project? Simply put, the wax museum meaning is a popular, classic way to present information from a research project on a wax museum famous person. Students “become the person” through dressing up and/ or pretending to be the designated VIP at a certain arranged date and time for the Wax History Presentation.
I suggest showing your students some school friendly photos of a real wax museum somewhere in the world so that they can get some background on what you are referring to. My guess is that most students in your class haven’t had the opportunity to visit a Wax Museum installation outside of school doors and have no context for this.
The idea can be just as simple as having students stand still (to look like they are made of wax) and reading a short paragraph about who they are pretending to be and what they have contributed to North Carolina.
Variations can get as extensive as having students dress up in clothing to look like the person they are pretending to be, setting up a wax museum poster and/ or including props that the person might have used during the person’s life.
If you go with the dress up route, keep in mind that not all students will have access to items at home for required dressing up or other props. Make sure to create a plan to assist students that will need help acquiring objects and clothing needed to complete their wax museum components.
If this already feels like an overwhelming concept that would take too much time and energy to prepare and execute in your class, have no fear. I’ve got your back with my best 25 Wax Museum tips to help you design a simple, no frills experience or an intense and intricate museum display that borders on professional level.
Each year I pick and choose the type of wax museum project that fits my current year’s class the best.
Only you know as the teacher what is the right fit for you and your students for this year and for this type of project. And that can look different every year based on so many factors.
I’ve grouped my hot tips of wax museum ideas into sections so you can think through each step of this project in order without being overwhelmed.
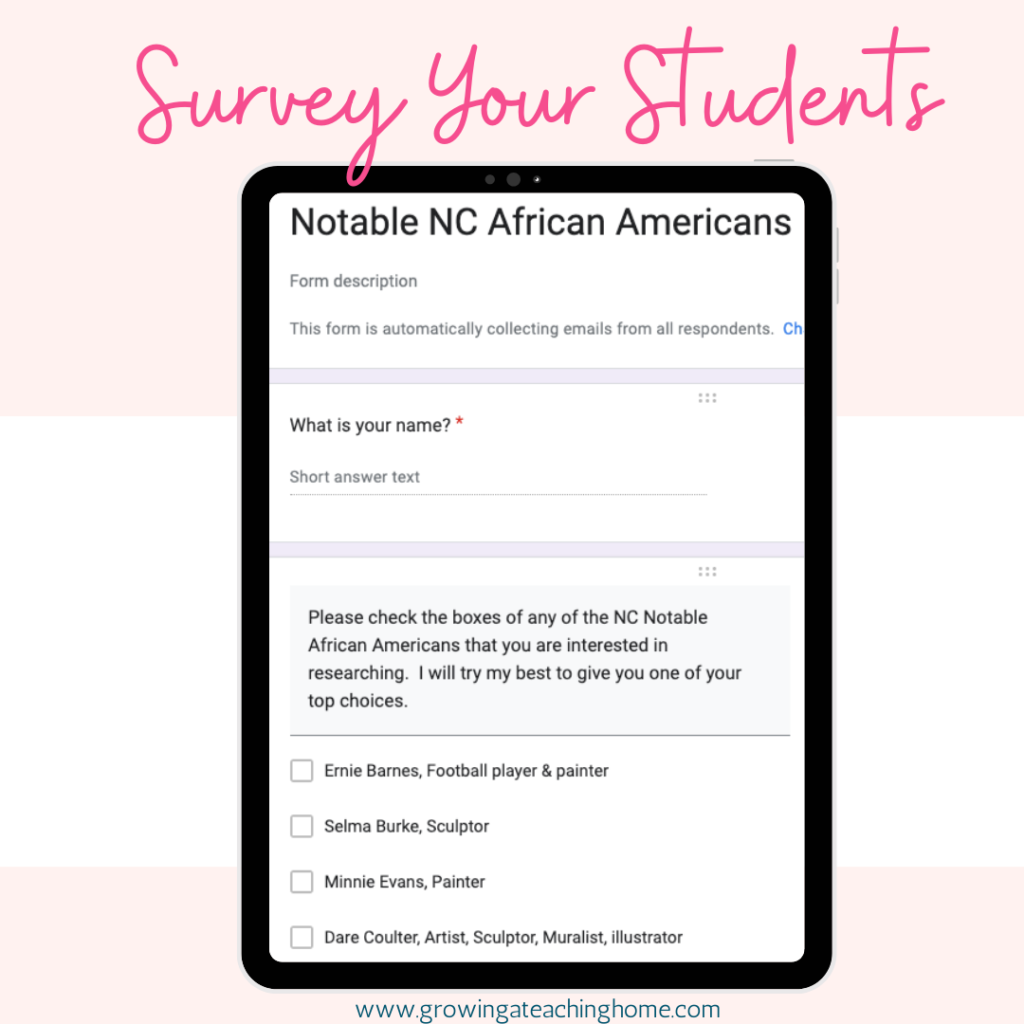
1. Survey for students to rank or select their top choices of heroes. This gives your students some part in the selection of their person to research. The teacher can use these surveys to assign each student a different person or to know which students might want to partner up and research the same person. Or use this to purposefully assign students their person to research based on any number of reasons for teacher discretion.
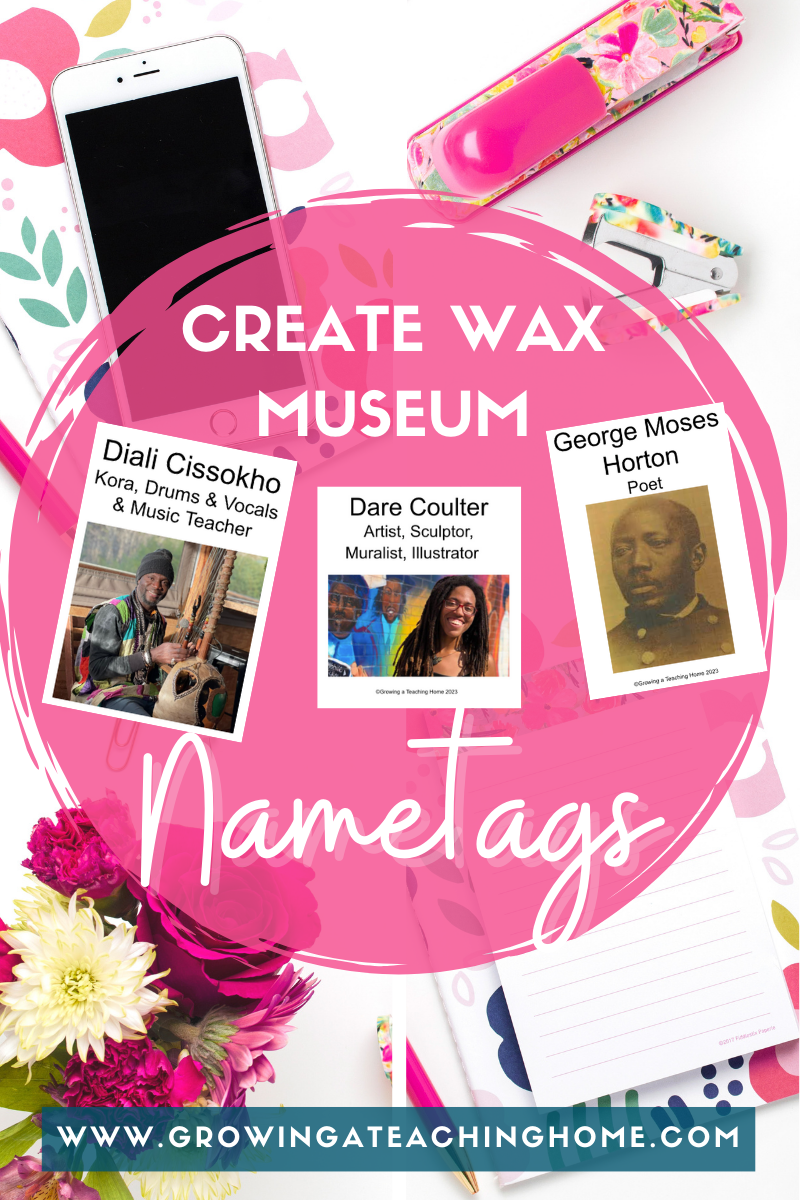
2. Wear a name tag or button with a photo and name of the person. Students can create a “Hi! I’m (name of person) card with yarn to turn it into a necklace (easy version) or a button (fancy version) made with a button machine. Add a photo to make it more eye catching for visitors.
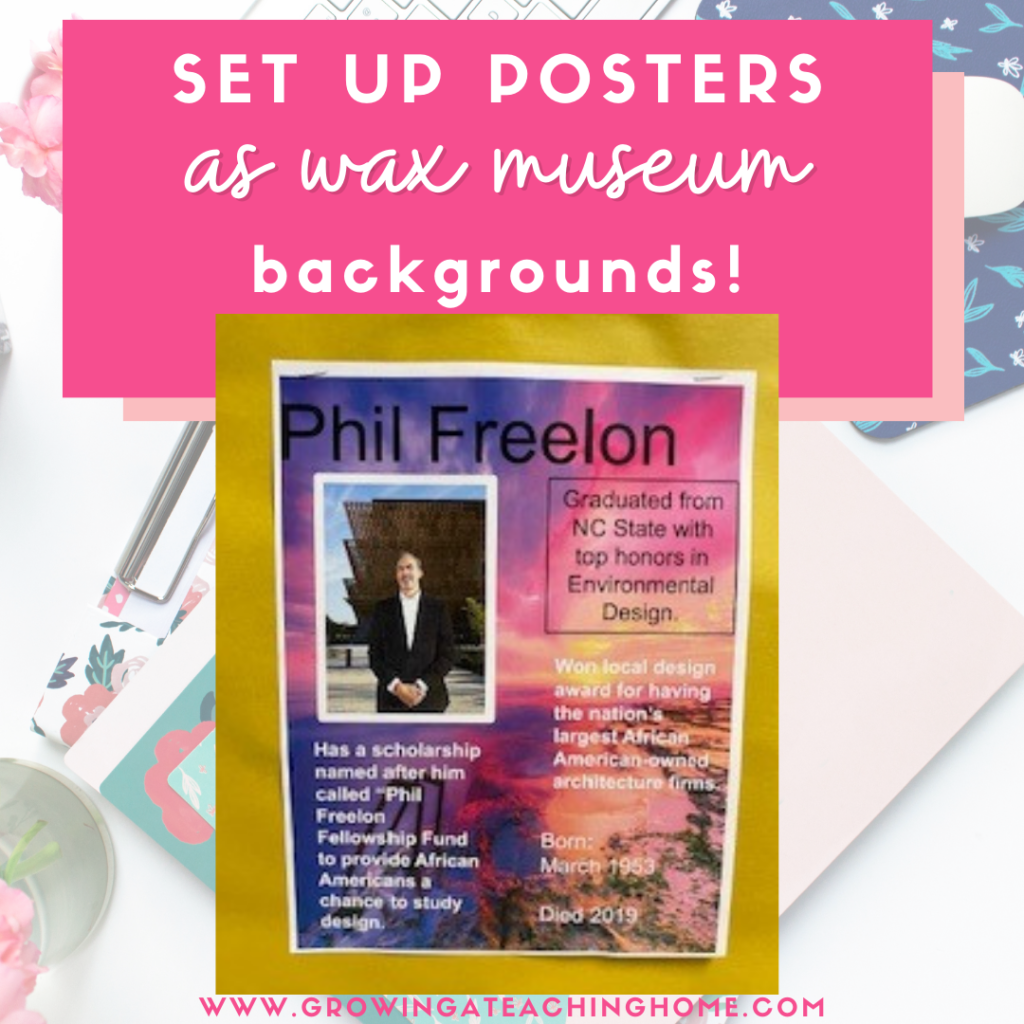
3. Use a large sheet of butcher paper, poster board or a cardboard trifold to make a backdrop/ background. Small or larger trifold wax museum board displays are sometimes sturdier and easier to stand up if set up on a table or desk behind or near the student. The poster can contain information and/ or photos of the person.
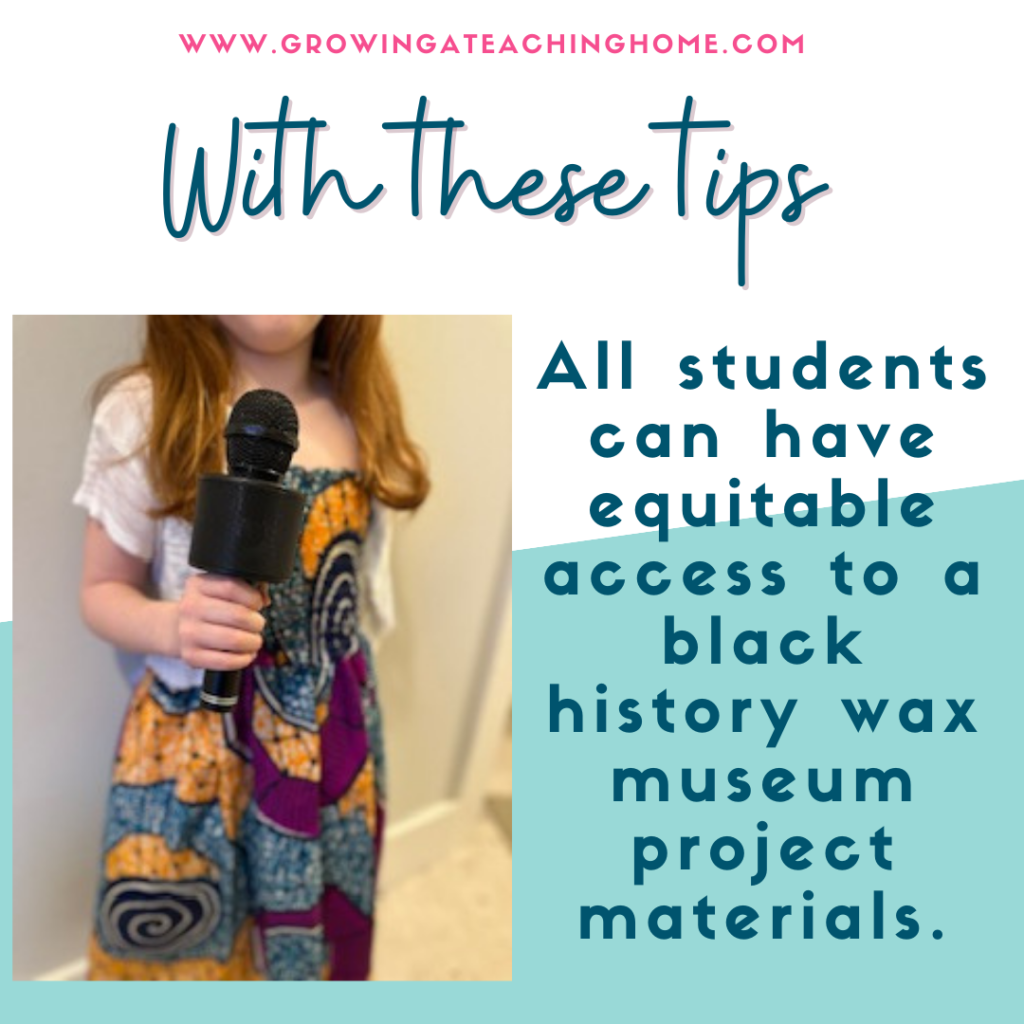
4. Create and/ or bring in props that have significance to the famous person. For example a student studying a famous singer can find a microphone to hold or make one out of cardboard and other materials. An artist can bring in or create a cardboard pain pallet.
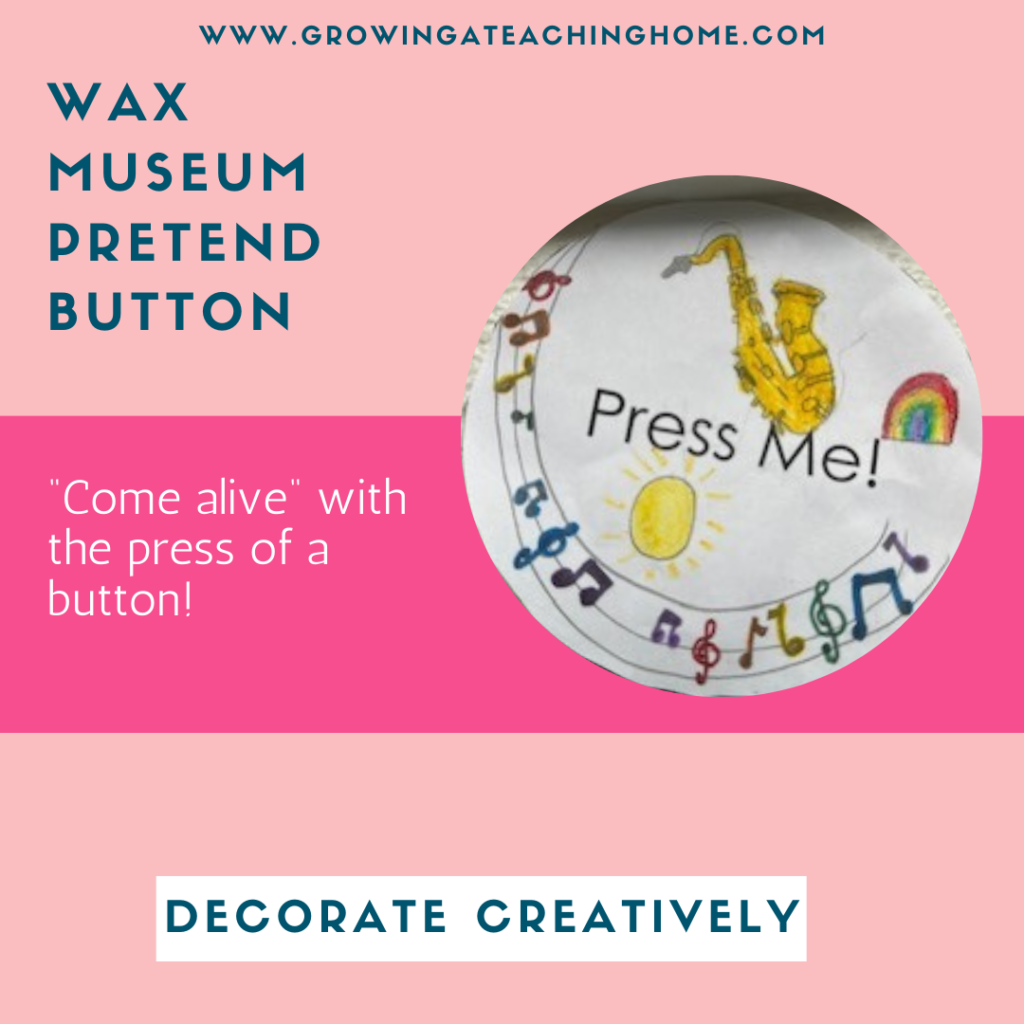
5. Make a personalized “press me” button that goes with the person’s style. When museum visitors “press” the button or tap it with their foot (if it rests on the floor), the student will “come alive” and start speaking after sitting or standing as a frozen figure. Other wax museum button ideas can include creating a pretend 3-D button using other materials for visitors to press when they are ready for each student’s wax figure to “come alive” to start talking and sharing the information about their lives.
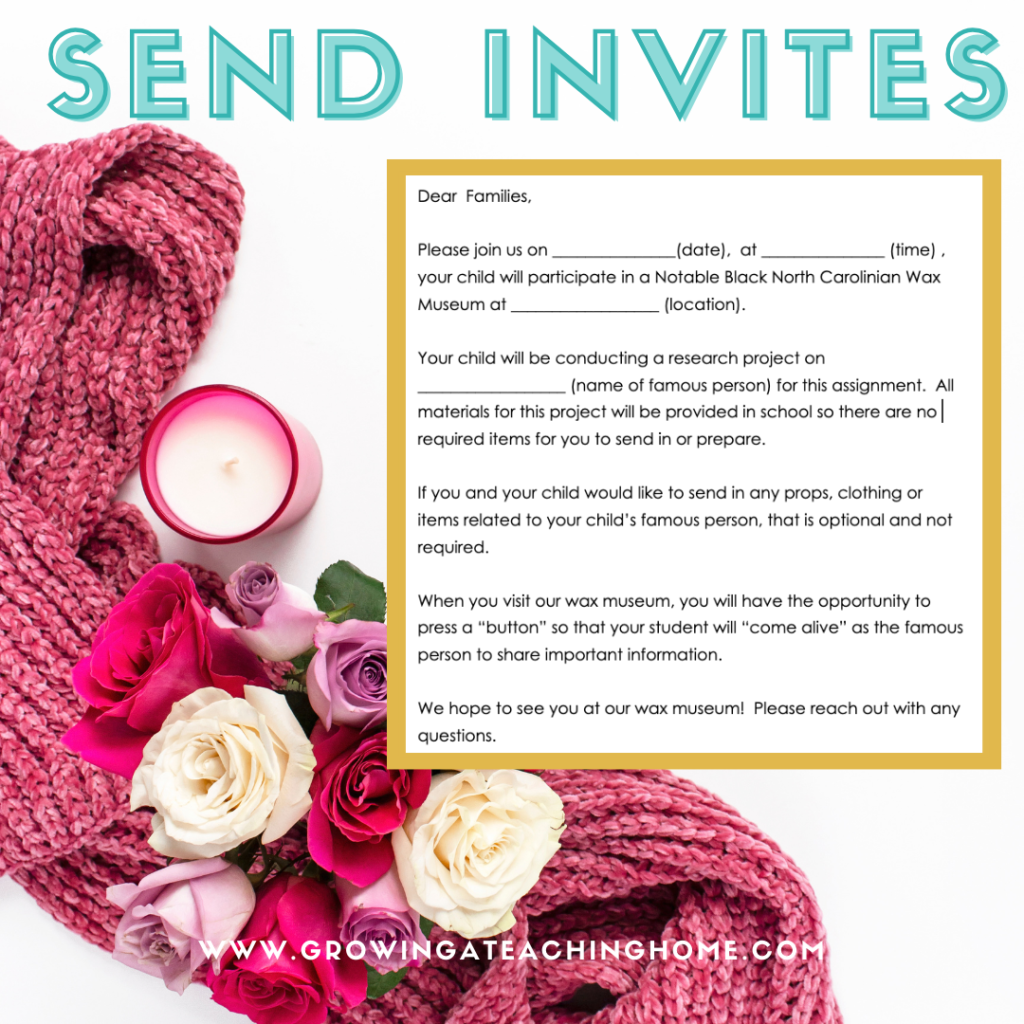
6. Design creative invitations to share the date, time and location of the event. These can be made and sent online or copied on paper to handout. Let students add their artwork, written words and designs to build the hype for the event.
7. Ask students to collaborate together to write a wax museum rubric (success criteria or student generated rubrics) by having them create a list of all the requirements that each person should include in their presentation. This rubric can easily be formatted to become a checklist for student’s projects.
If giving students this type of control or influence seems overwhelming or risky, prepare ahead of time with a pre-made rubric/ checklist. This can be a jumping off point to guide students towards the same types of items through suggestions or leading questions in a classroom discussion.
When students feel they have influence in helping to create how they will be assessed, there is more buy-in, ownership and effort put into their work. Alternatively, you could show a draft copy of a potential rubric/ checklist and ask students for input on what to change such as add/ delete, etc. or how many points each item should be assigned on the rubric based on the importance of that aspect of the final project.
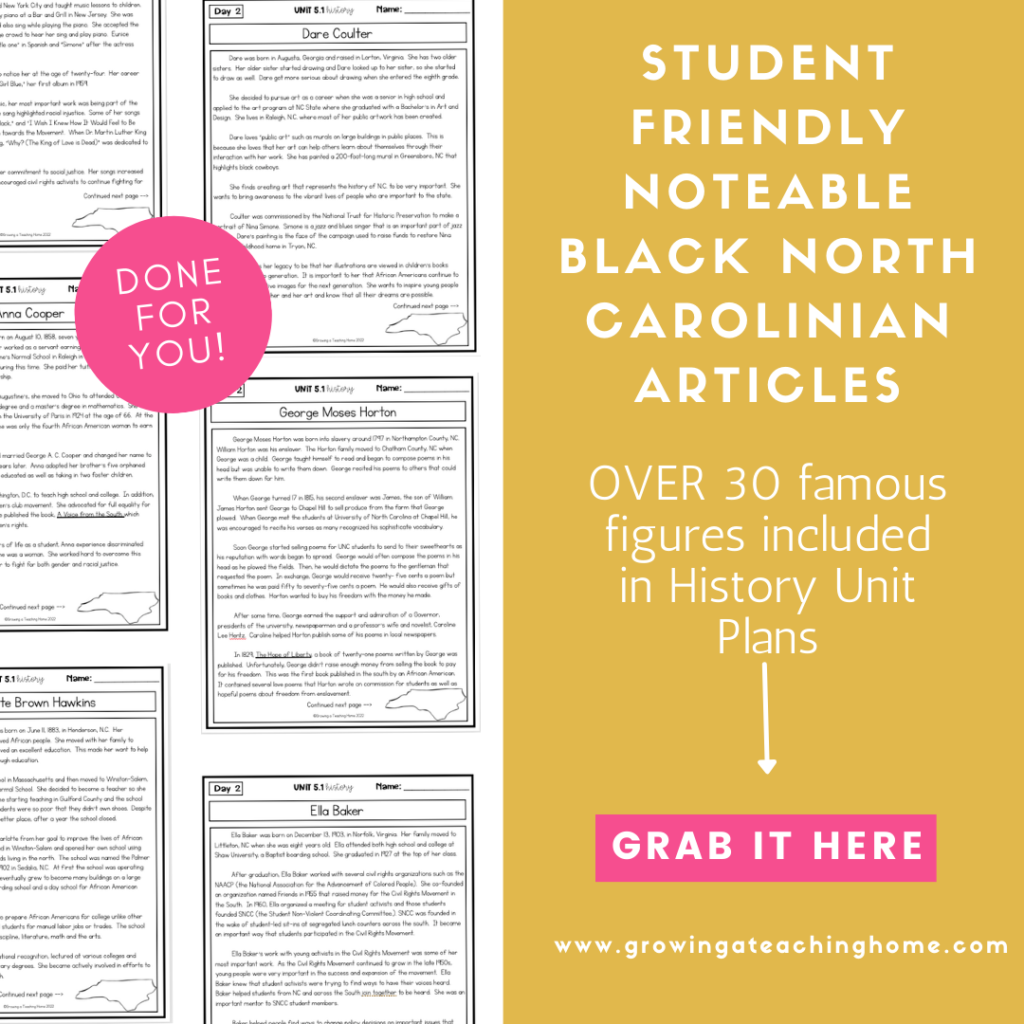
8. Use student friendly websites and passages for students to collect their research on wax museum figures. Safe websites like kiddle.co, NCpedia.com and Google Safe Search allow students to research their famous person knowing that they will only see age appropriate information.
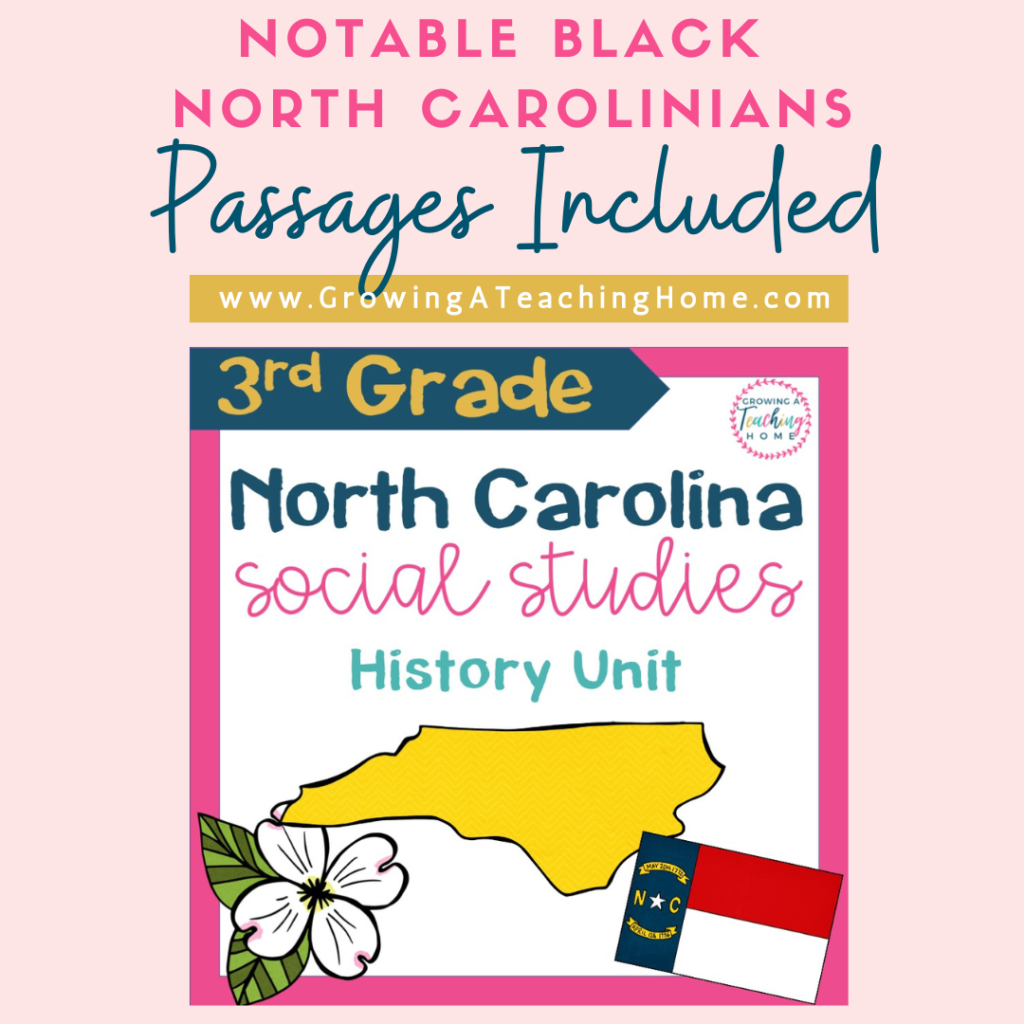
9. Give wax museum North Carolina visitors a list of questions to ask as they walk around and interact with the historical figures. Give the same questions to the students so they have answers ready to read (or memorized) in order to answer any of the questions that the visitors ask. This creates a more interactive version aka a “living wax museum” instead of students repeating the same speech over and over to visitors.
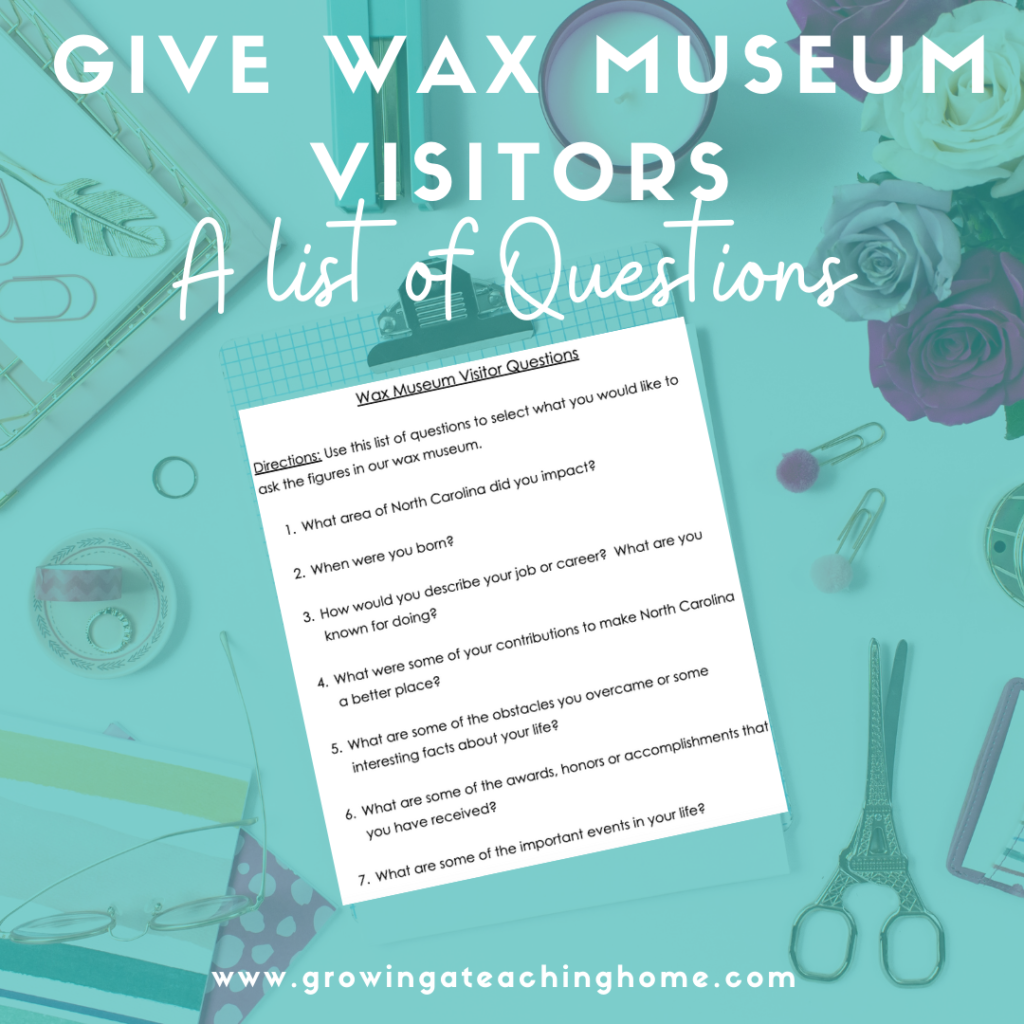
10. If you have access to devices, have students display a series of slides about their famous person at their station. Instead of coming up with wax museum poster board ideas, the use of technology is a highly engaging twist. Visitors can click through the slides at their leisure or the students can click through at certain points to explain certain parts of the research about the famous persons’ life.
11. Create a scavenger hunt or tic tac toe card for visitors to fill in that encourages them to find out certain types of information about several different famous figures in the wax museum. Or have stamps and stickers for students to use to mark the space for the names. To get even more creative, just have students sign their famous person’s signature next to the name on the space. Visitors can turn in their completed sheets for a small prize or certificate of completion when they have filled up their card or just keep it as a souvenir.
12. Have students share a google slide to compile into a class slideshow that is projected during the wax museum on the board or large screen in the room. The slide show could have just photos of each person and/or highlights about their life/ accomplishments and could be set to replay in a loop to highlight the VIP North Carolinians being showcased at the event.
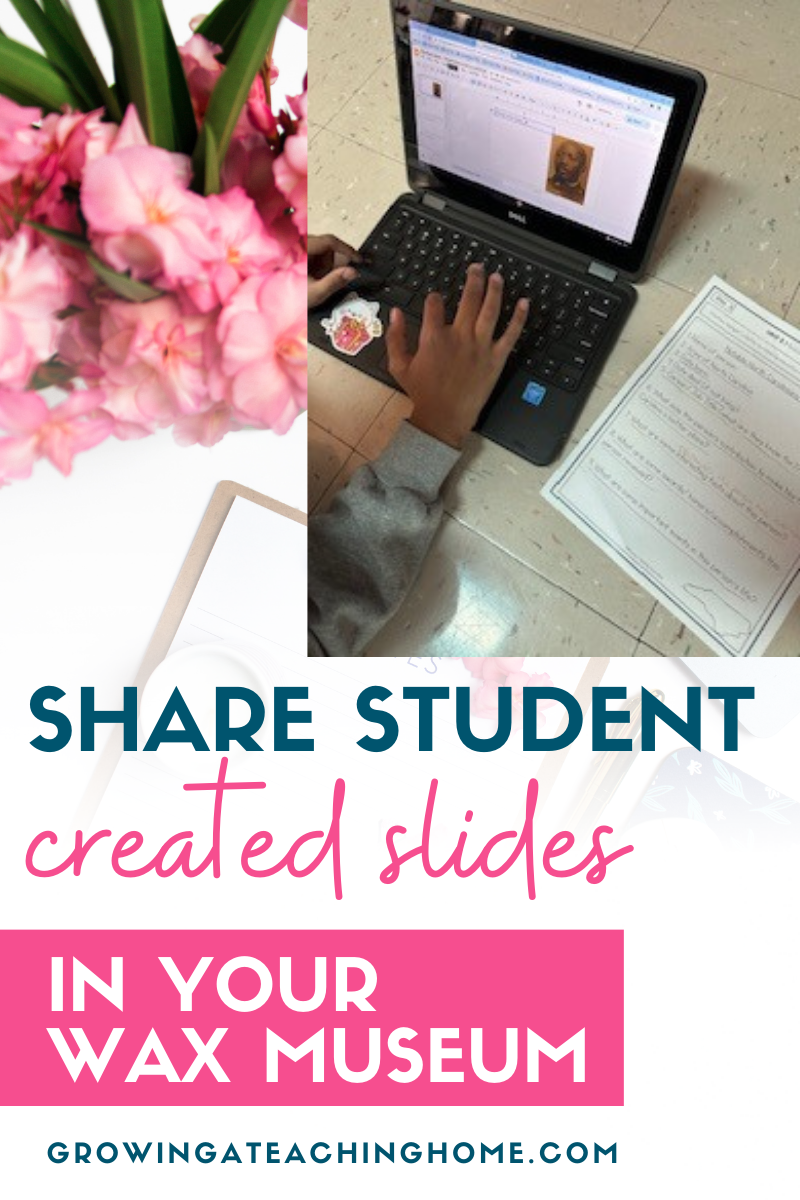
13. Switch with another classroom and take turns presenting as the wax museum and being the visitors. If your classroom is the only one participating in a wax museum, divide your class in half and let half the class present while the other half visits or completes the activity and then switch roles. This is also a great way to practice at the museum before other visitors are invited.
14. Speaking of visitors, consider inviting community members, families, school staff, administration, etc. to visit the museum. The project will become even more meaningful when so many people come through the museum to see the excitement.
15. Add a music component into some or all of the student’s booths. This could be an option just for the students dressing up as a famous musician to play some of their music. The music could be displayed by allowing visitors to walk around with their headphones and plug into different student’s devices that are playing selected songs or if you are able to present in a large enough space, students could be spread out enough to play their famous person’s music out loud on a playlist at their booth.
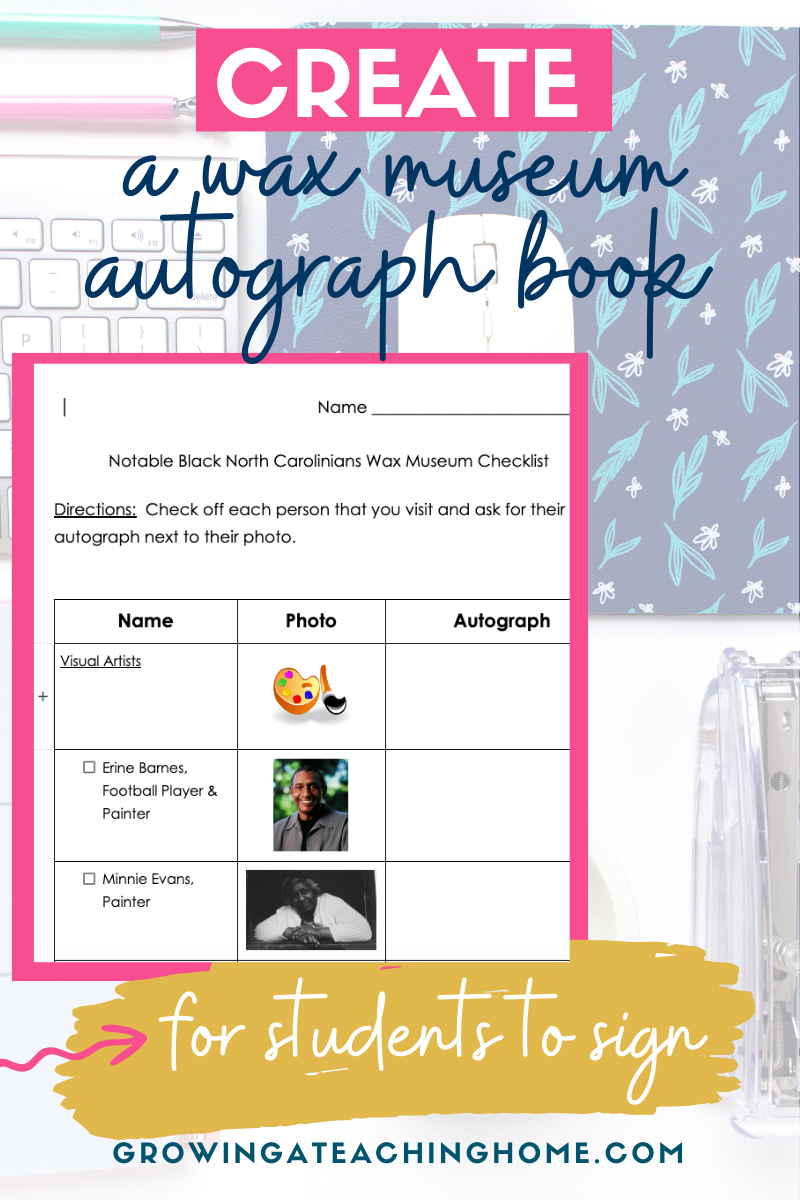
16. Create an autograph book for students to sign as their famous person next to their photo or list of the names of people in the museum. This can be an “exit ticket” or way for visiting students to track which figures they have visited in the museum. Consider adding a space for visitors of the museum to record interesting facts as they collect autographs just like the characters at Disney!
17. Throw a special decorated sign up on your classroom door or in the hallway to invite guests to the wax museum space and build excitement. This could even be launched in advance to build the hype.
18. Challenge students to create a simple craft or memento to pass out to anyone that visits their display. Visitors could be given a goodie bag to fill with little trinkets as they visit each booth and learn about why each item was selected by the student to represent that person. Visiting classes could then select one of the trinkets from their collection and explain which famous person gave it to them and why it represents something important about their life.
19. If you decide to let students dress in clothing and accessories like their person, collect items from donations, thrift and consignment stores or locate a costume maker or sewer that wants to donate their time and/ or costumes to help. Alternatively students could be given a plain white shirt and asked to design and decorate clothing that their person might wear. Or they could decorate their shirt with drawings or attached items that relate something important about the person’s life.
20. Print or draw pictures to create a visual timeline of the person’s life for display. Have students add captions underneath each photo, picture or visual to explain the events that were important to that hero’s life. This could even be an interactive component of each student’s presentation where the student or visitor places laminated pictures or photos onto a timeline board with velcro as the student is explaining each part of the person’s timeline.
21. Design a map of the room with each person’s name labeled in their assigned location so that visitors are given a wax museum tour gallery map as they enter the room. Challenge students to decide the layout of each person’s spot in the museum based on an organizational theme such as grouping by the person’s job/ impact on others, their chronological order in history or time period, their region of North Carolina, etc.
22. Share a fun pre-entry survey that contains a fill in the blank, matching or multiple choice questions about the wax museum heroes for visitors to pre-test their knowledge before and after their visit. Visitors can fill out a version prior to entering the museum or as a google form before arriving (as a registration ticket) and then carry around a second copy or the original to check their answers as they visit the exhibit. Afterwards, students can enjoy seeing how much they taught their visitors from comparing the before and after activities.
23. Add a list of sources or “Learn More” resources so that museum goers can know where to learn more about the wax museum figures. This could also be a QR code with links to videos, articles, books, etc. for more information about the person’s life and contributions. Students could even print out business cards to hand out with QR codes that have more information about their person.
24. Ask visitors to leave a note for students by having blank postcards and writing utensils available near the exit door of the room. Students will love receiving “mail” for the person they are representing in the wax museum. This could be a great reflection/ follow up activity for other classes that come to view the wax museum. Students in visiting classes could choose or be assigned a person/ student to write a letter to give some feedback on what they learned about that person and ask any lingering questions about the person’s life.
25. Let students self assess using the rubric assigned. To add more rigor, include a section for students to write their person’s “famous last words” by letting students select an important quote that sums up their contributions to others. Students can also identify and write about one or more of their person’s character traits and why they selected this trait (or traits) to describe their person.
Whatever you decide to plan for your Wax Museum for students, you and your class will have a blast with this fun, engaging project.

Before starting this project, I give students a quick, enthusiastic rundown of each person’s accomplishments and contributions to North Carolina before I let them explore the videos on their own through google classroom. Then, when they are more familiar with some of the famous names, they will be ready to select a person and become part of living history in your amazing wax museum project!
